Turning a wooden hat is not a complicated operation since it is really just a deep bowl with a wide rim. It does take a fair amount of turning finesse since even a small mistake that could be easily tolerated and corrected when turning a bowl can be the destruction of a hat.
Since the hat must be formed and bent after it is turned it is imperative that you start with freshly cut green/wet wood that will remain flexible through the process. A light colored wood such as maple is easiest to use since it is translucent when wet and a light can be used to judge the thickness. If a dark wood is used the turning is a much slower process since you must stop and measure more frequently.
For the best results and look the blank should be cut well away from the pith of the tree and the growth rings balanced on the center of the hat. A nicely figured wood will add to the beauty of the hat. One of my favorite woods is Ambrosia Maple as the brown streaks show off nicely on the brim and crown of the hat.
Following is a step by step photo essay of the turning process. Hopefully it is not too confusing. In order to fully illustrate the process there are pictures from several different hat projects.
For a better view click on any picture and step through the process. If you have any questions please don’t hesitate to contact me.
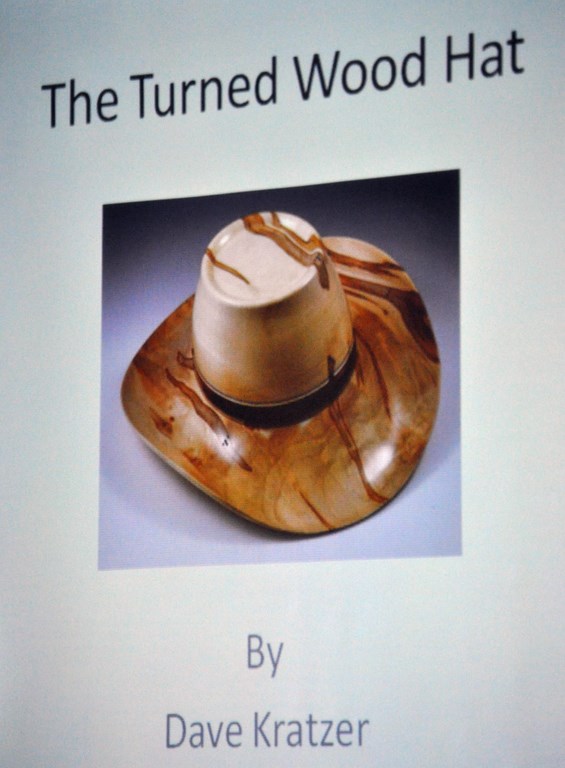
The Turned Wood Hat
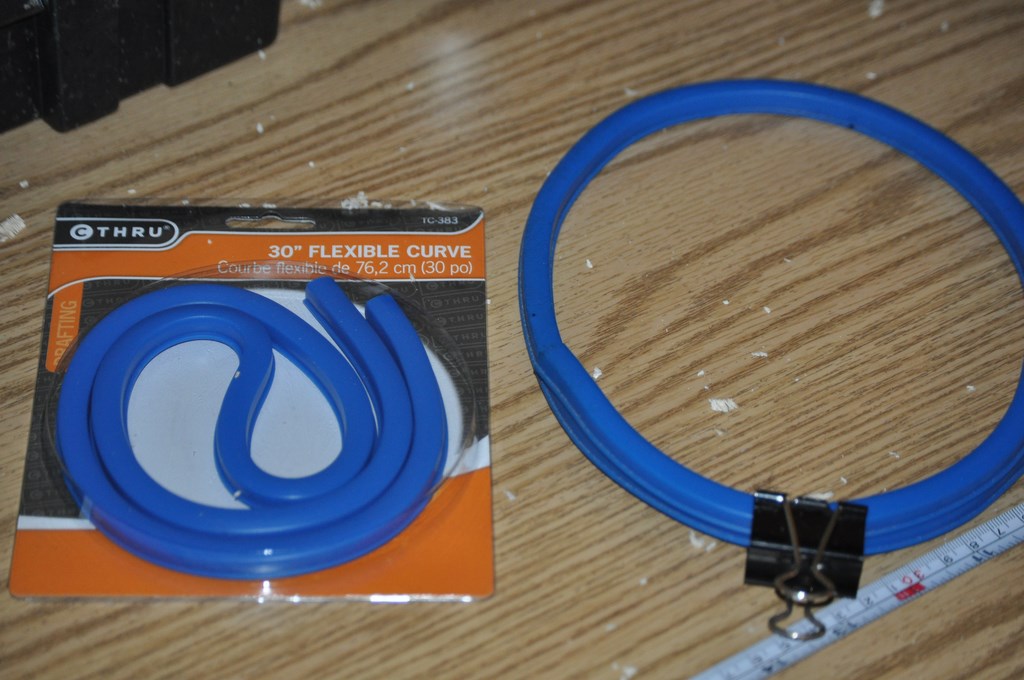
Flexible curve for measuring head size and shape
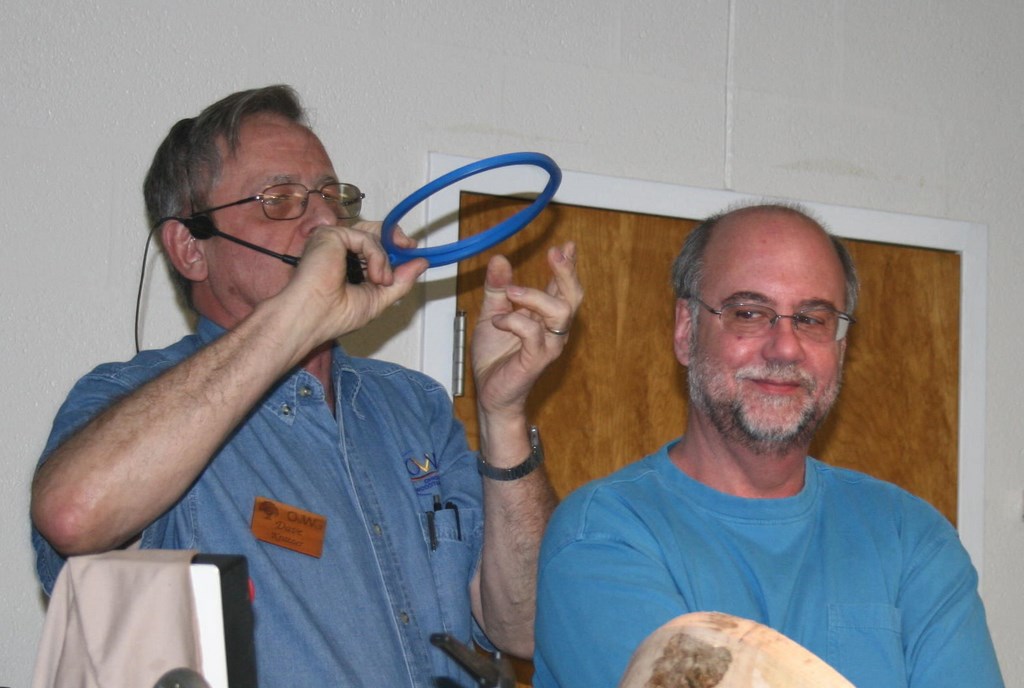
Flex Curve ready for measurment
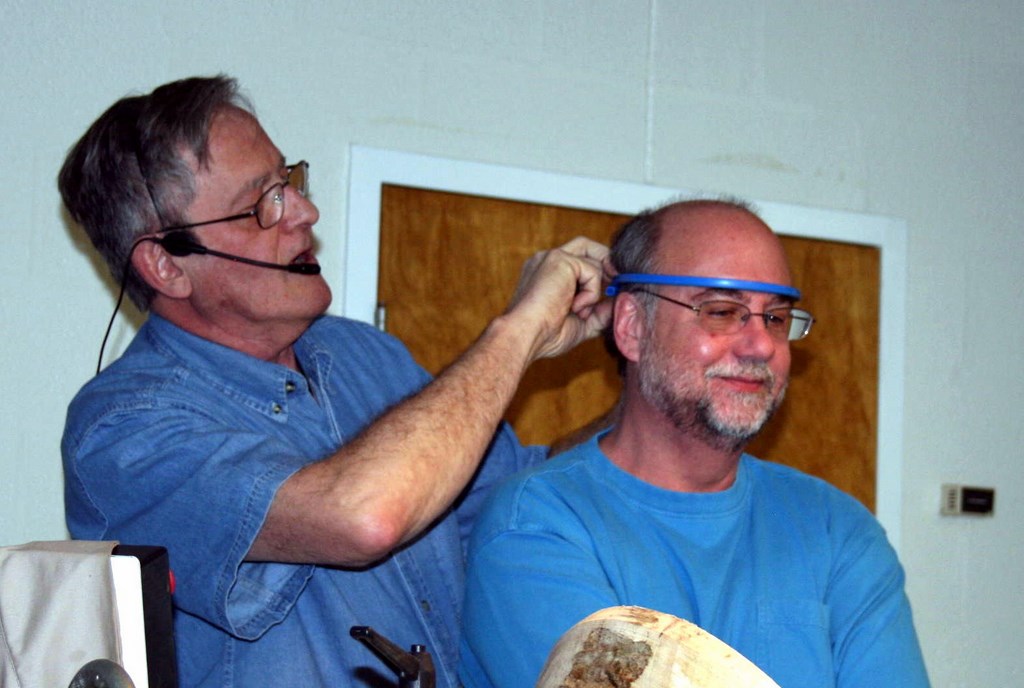
Measuring head where hat should fit
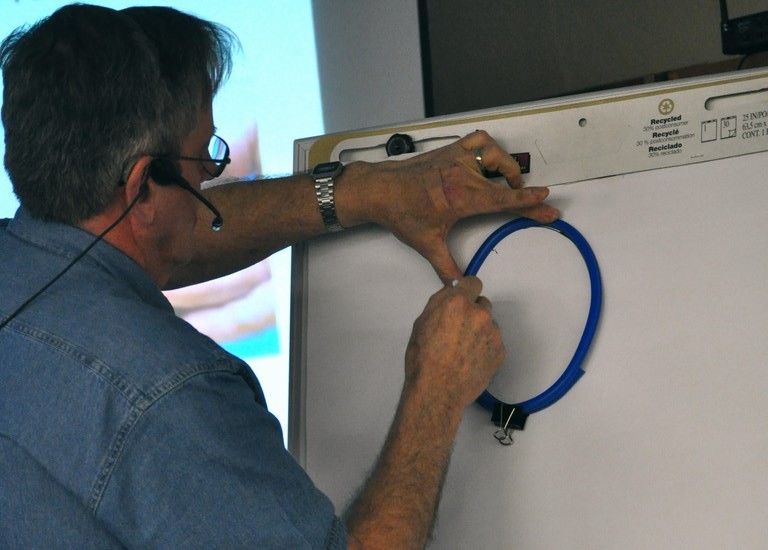
Transfer measurement to paper
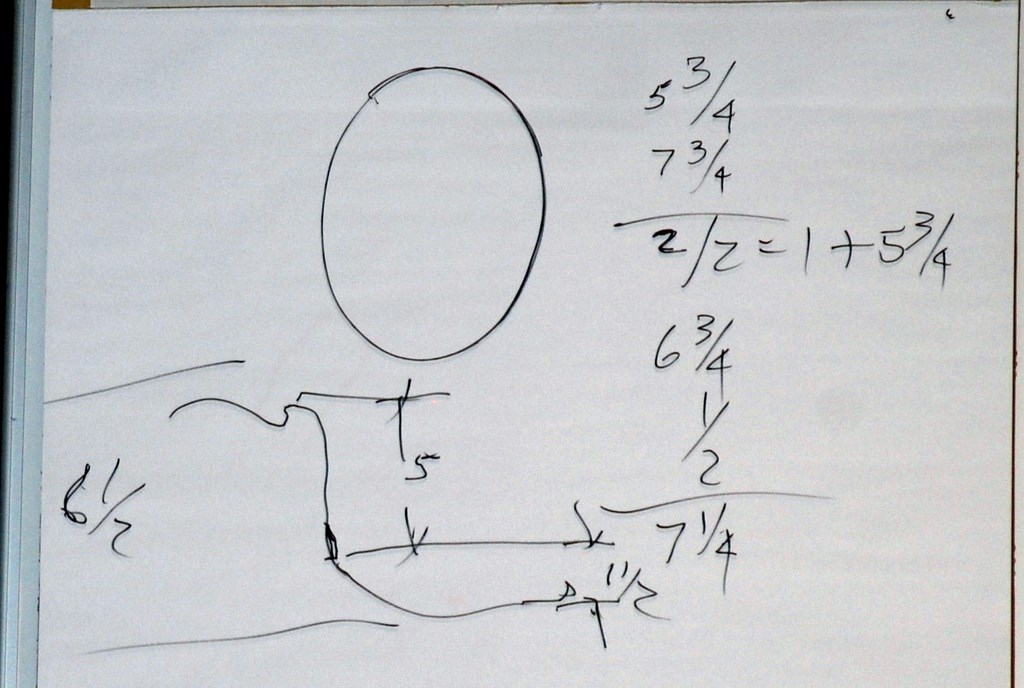
Calculate round size at hat band. Length minus width divide by two add width plus factor for thickness of wood at band and schrinkage factor
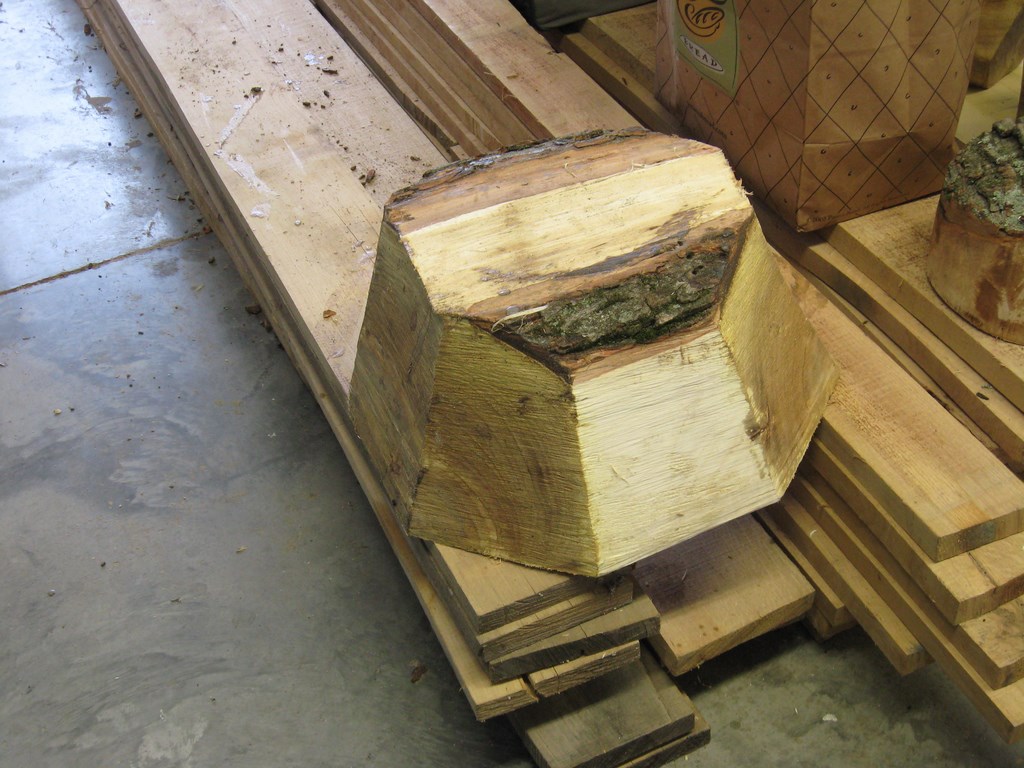
Prepared blank. About 60-80 pounds
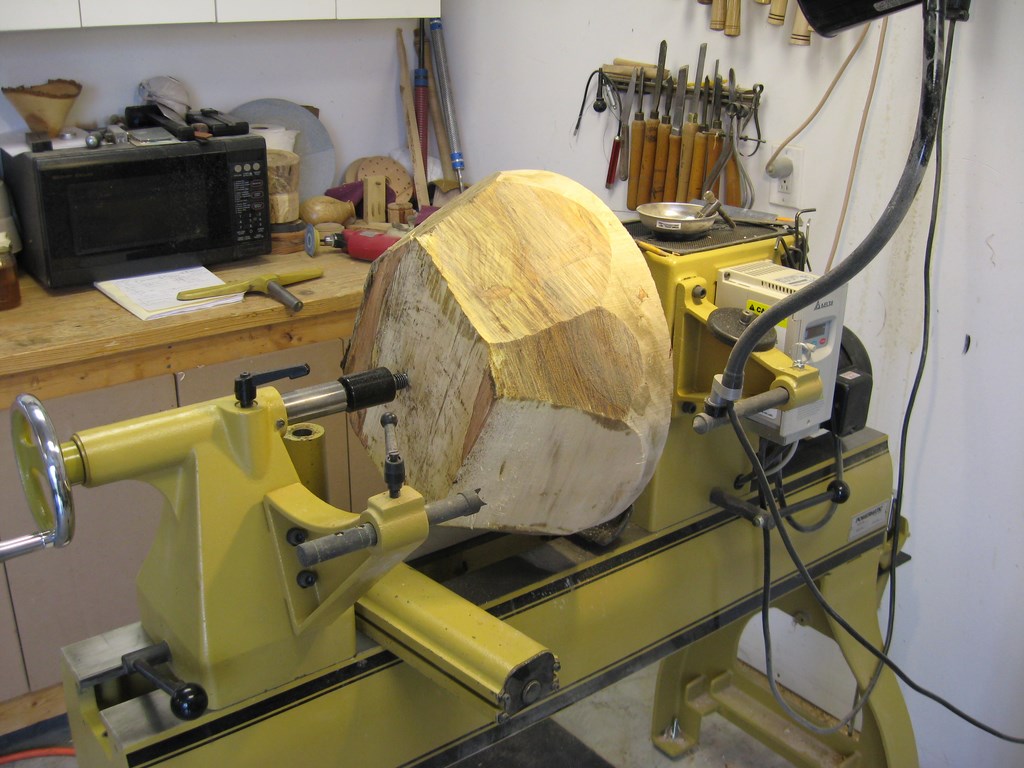
Mount between centers
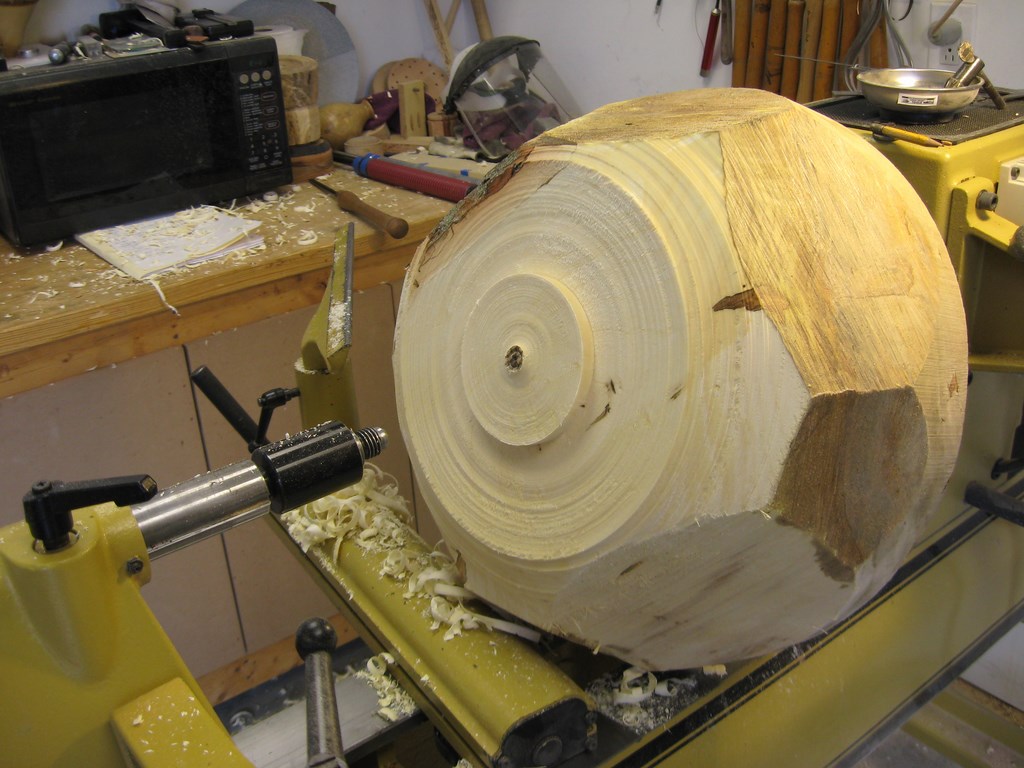
Prepare tenon for chucking on top of hat
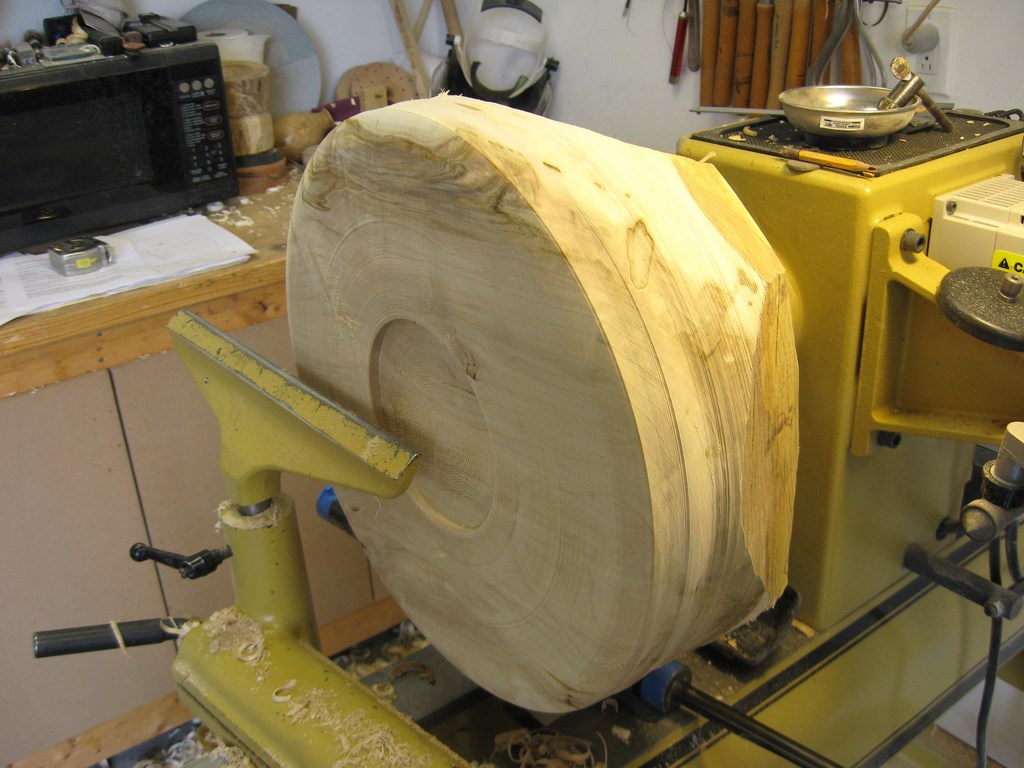
Chuck on tenon and prepare recess for chucking on bottome of hat blank
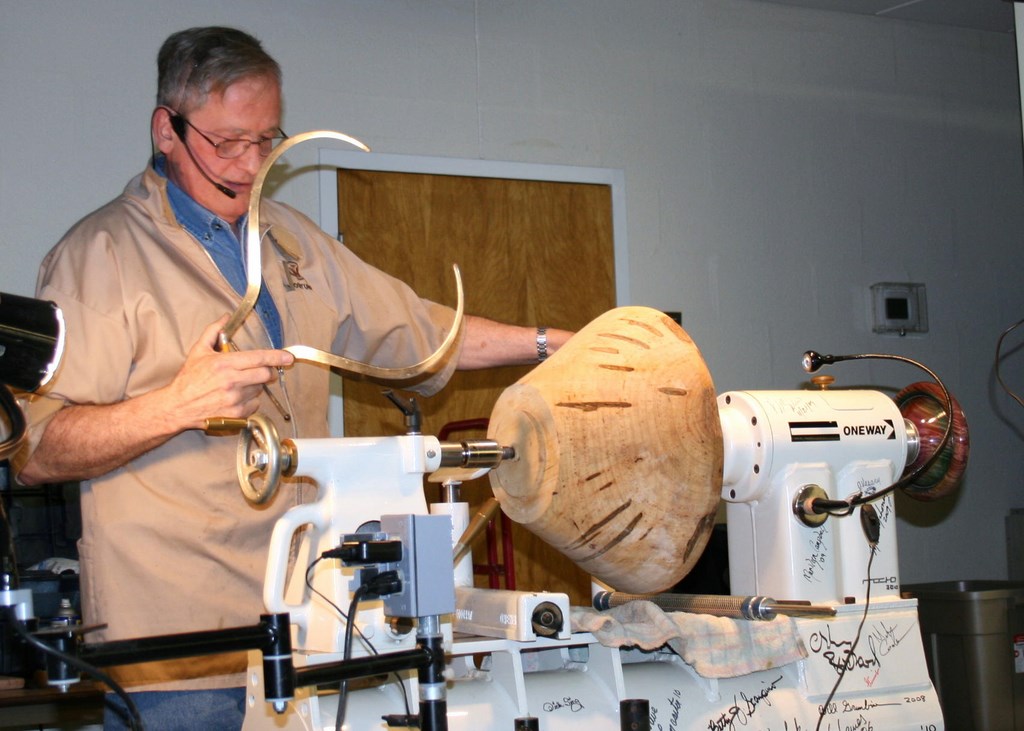
Round and rough shape the blank
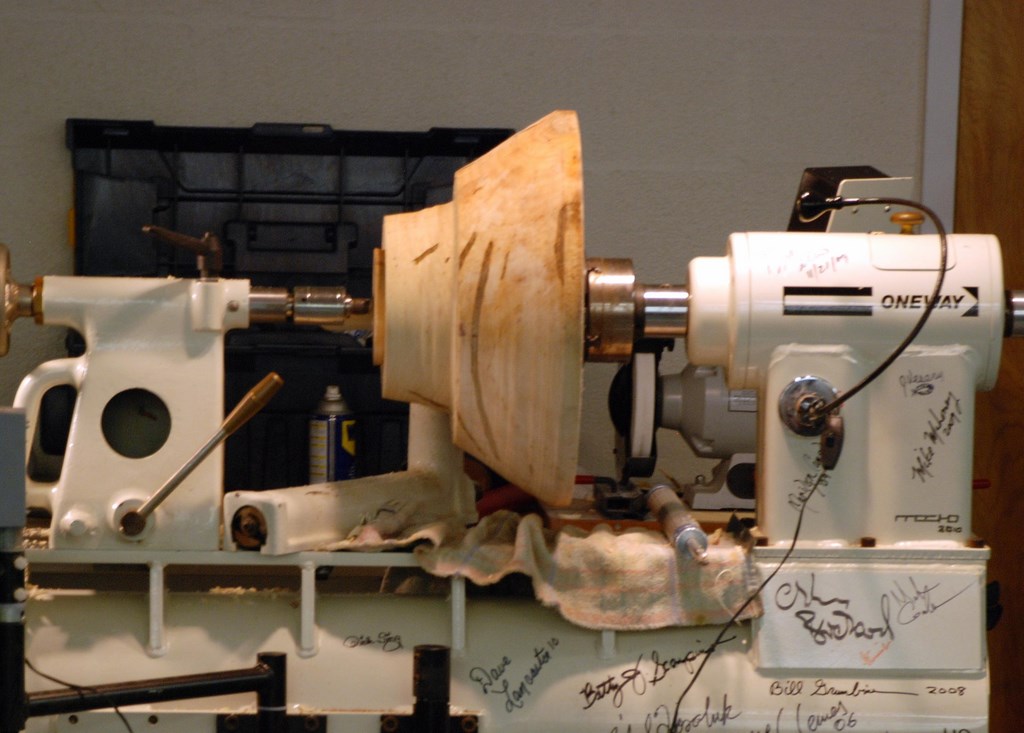
Begin sizing crown of hat
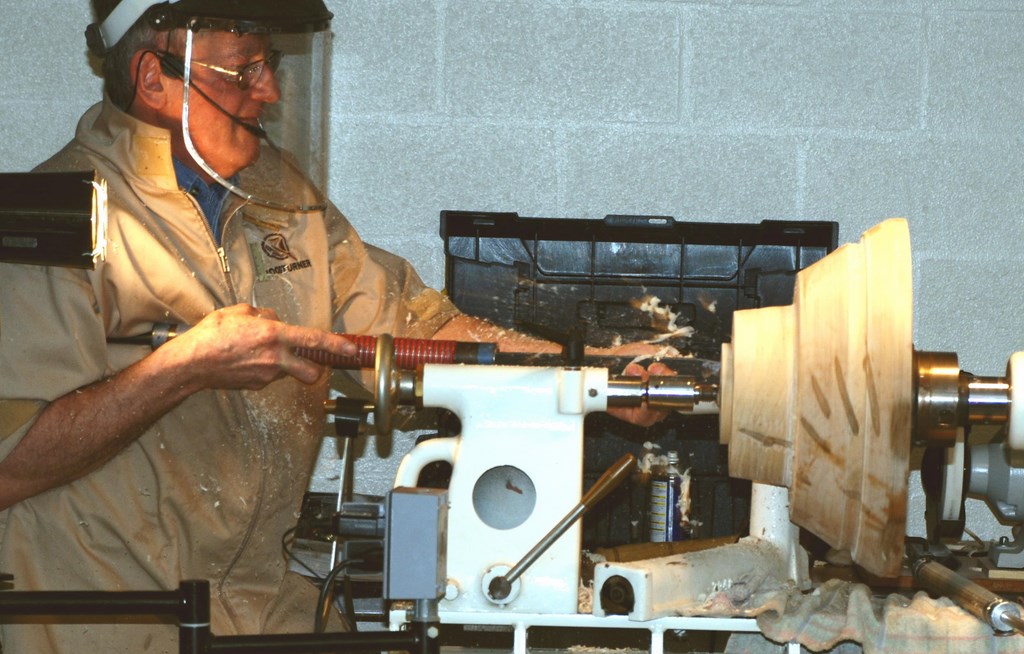
Begin removing picture frame ring of excess wood
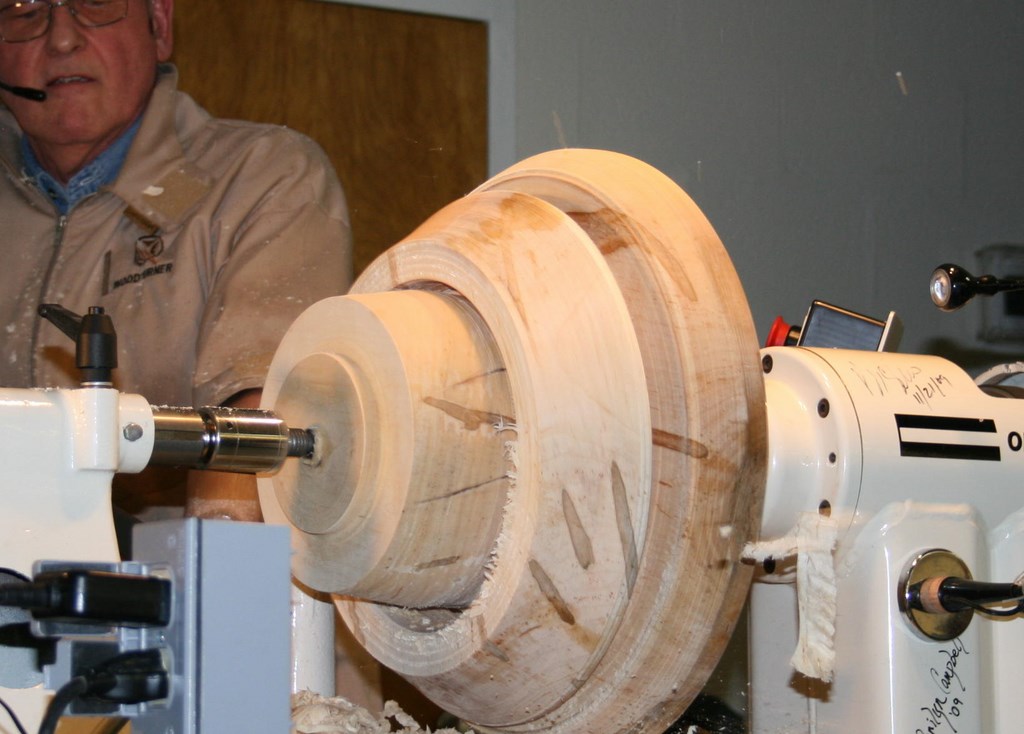
Picture frame separated from blank
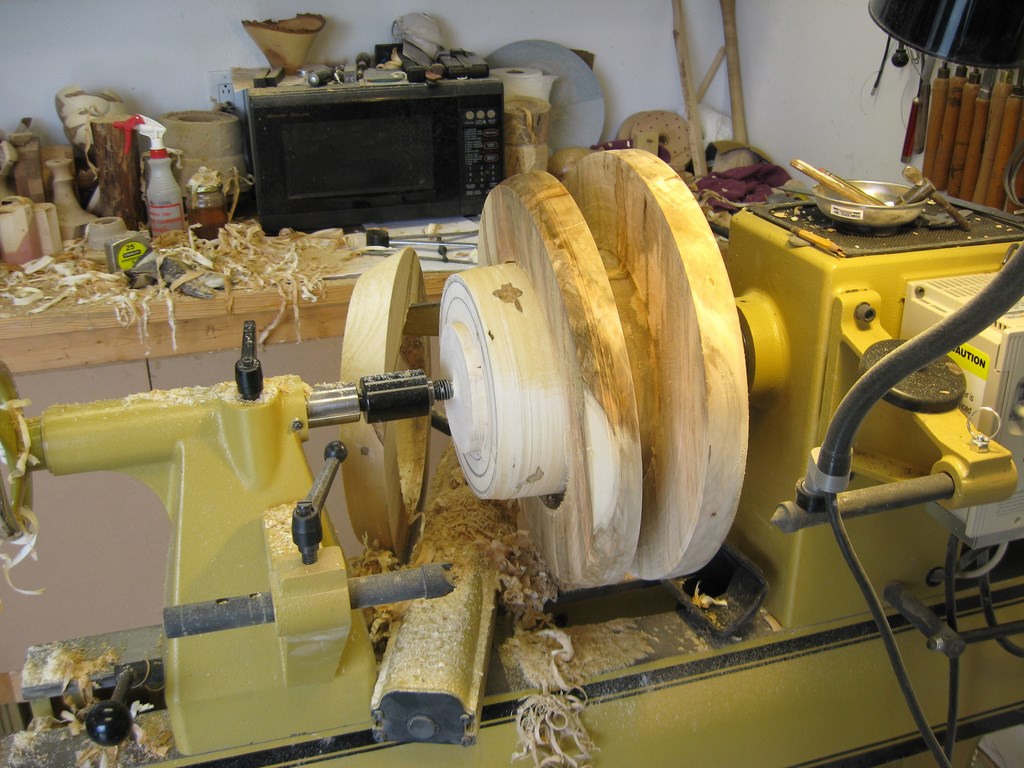
This blank producced two picture frame blanks
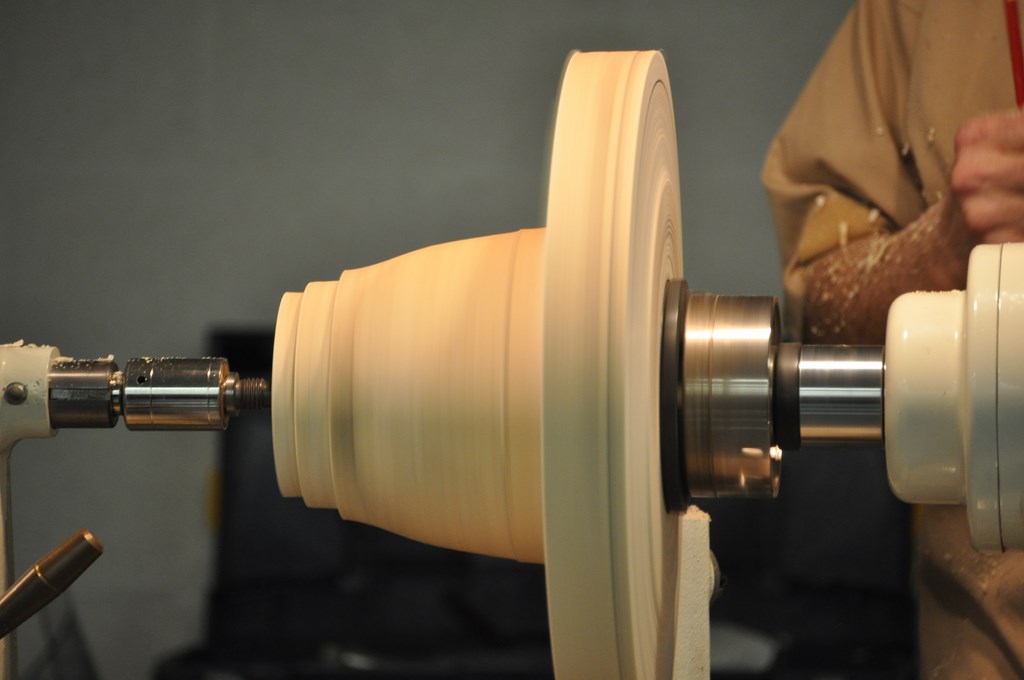
Crown begins to take shape
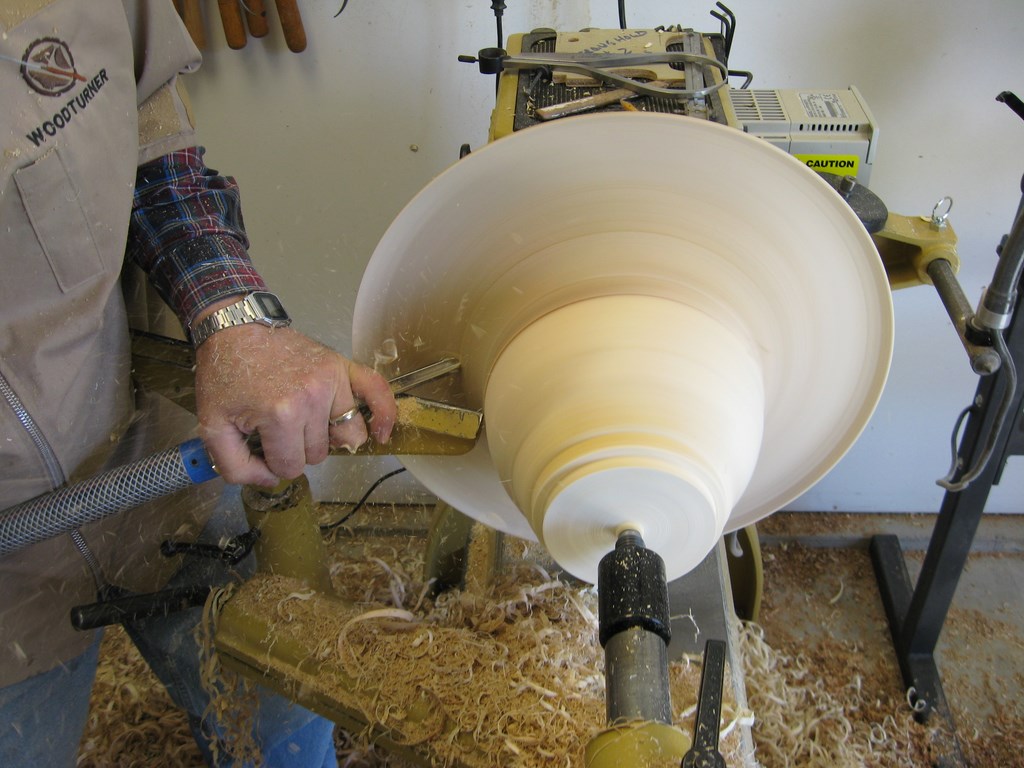
Finishing top of brim
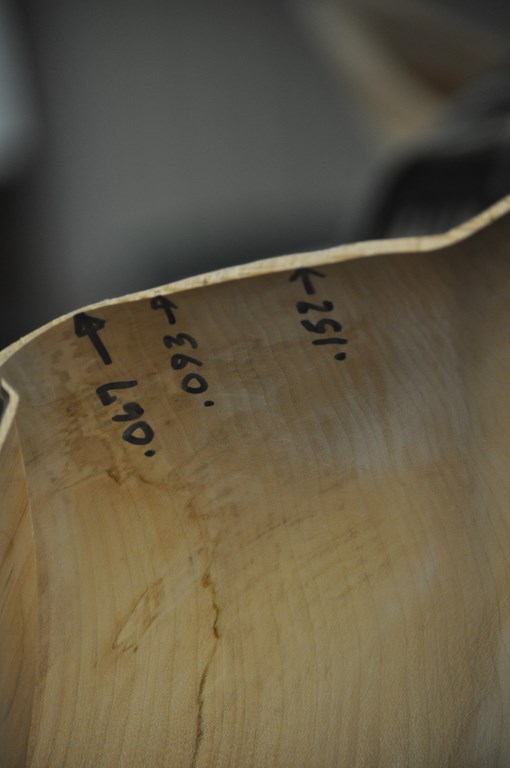
Shoot for .090 inch ideal thickness. I'm still learning.
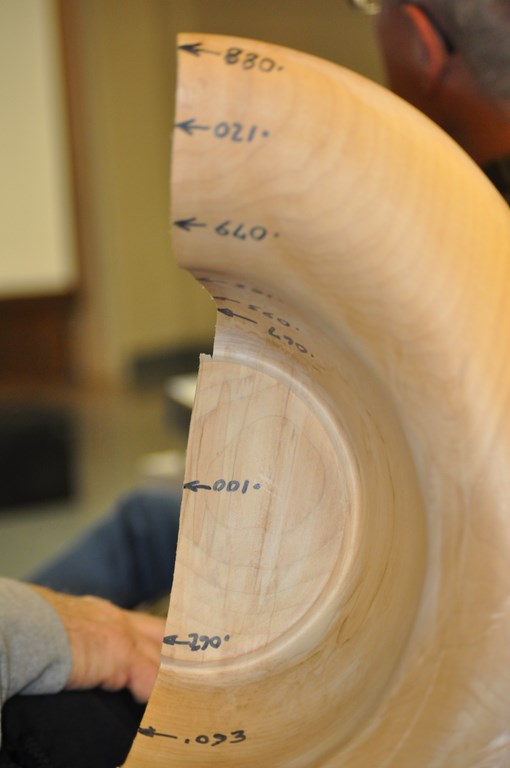
Thicknesses on a scrapped hat.
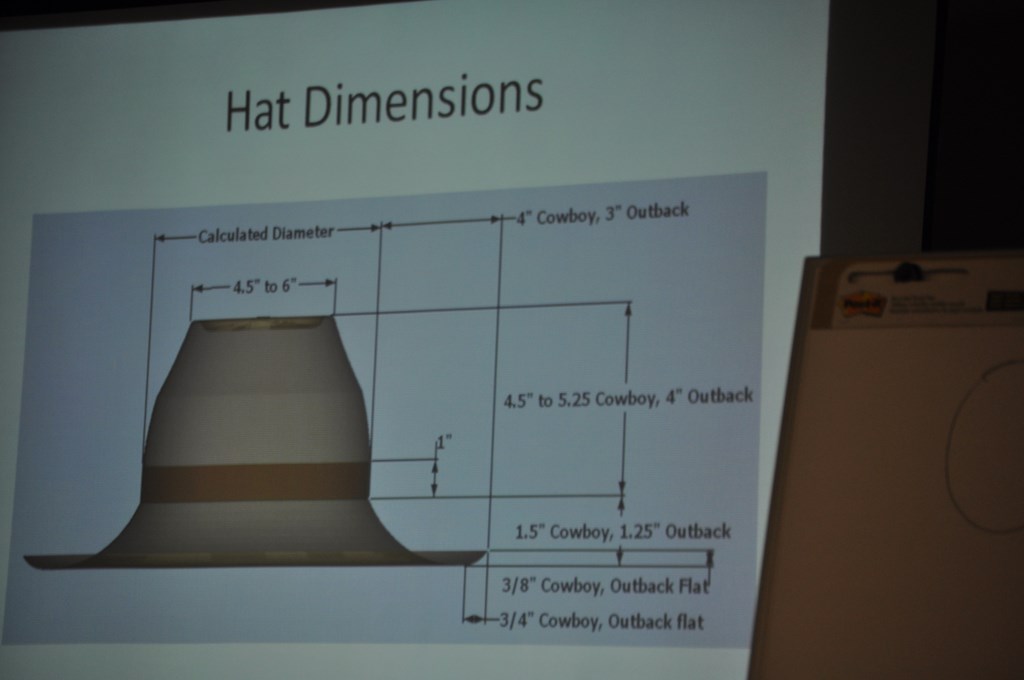
Approximate dimentions for cowboy and outback hats
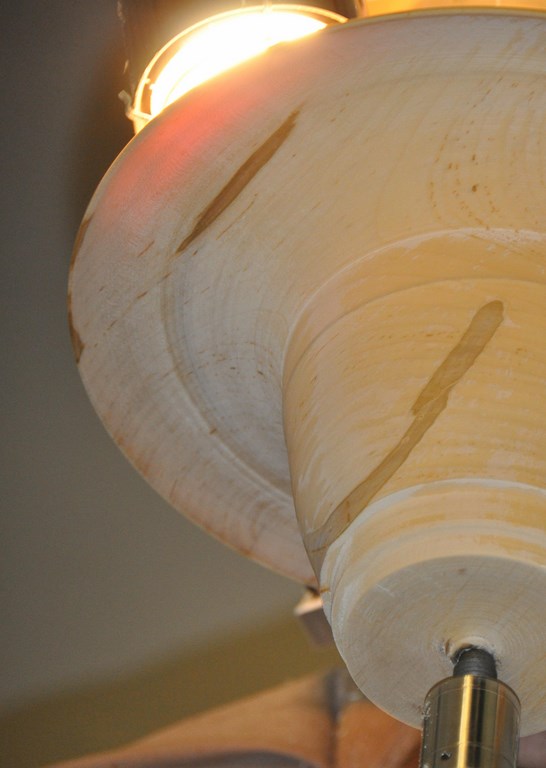
Begin shaping brim to final thickness. Notice glow of light
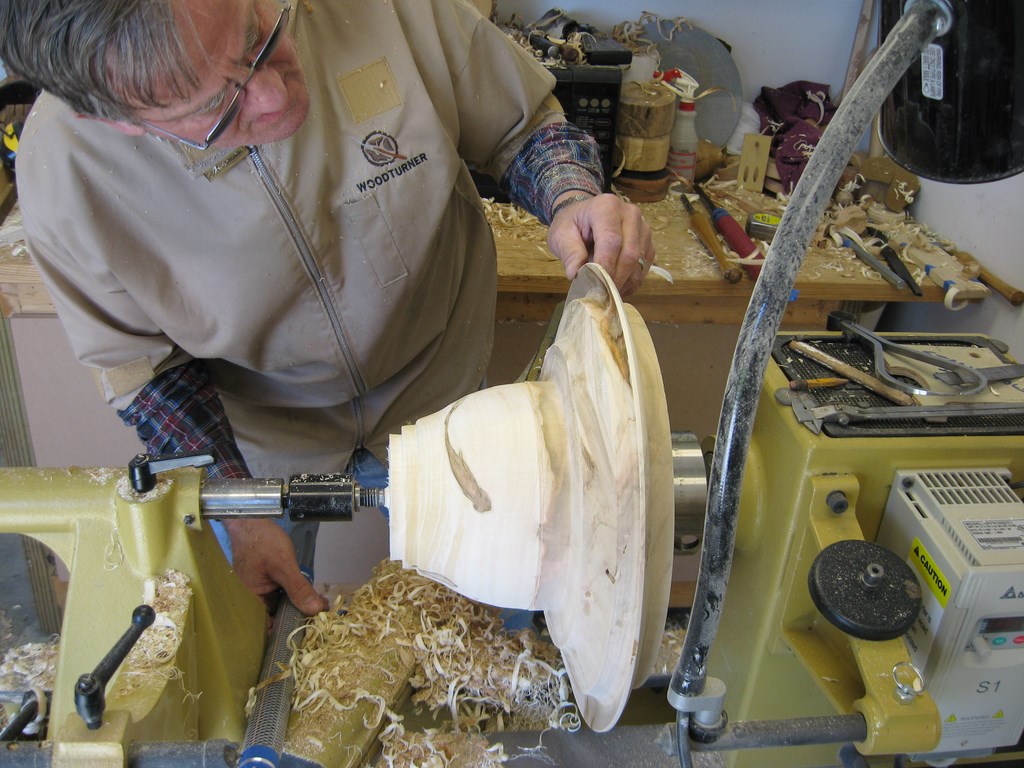
Checking brim thickness
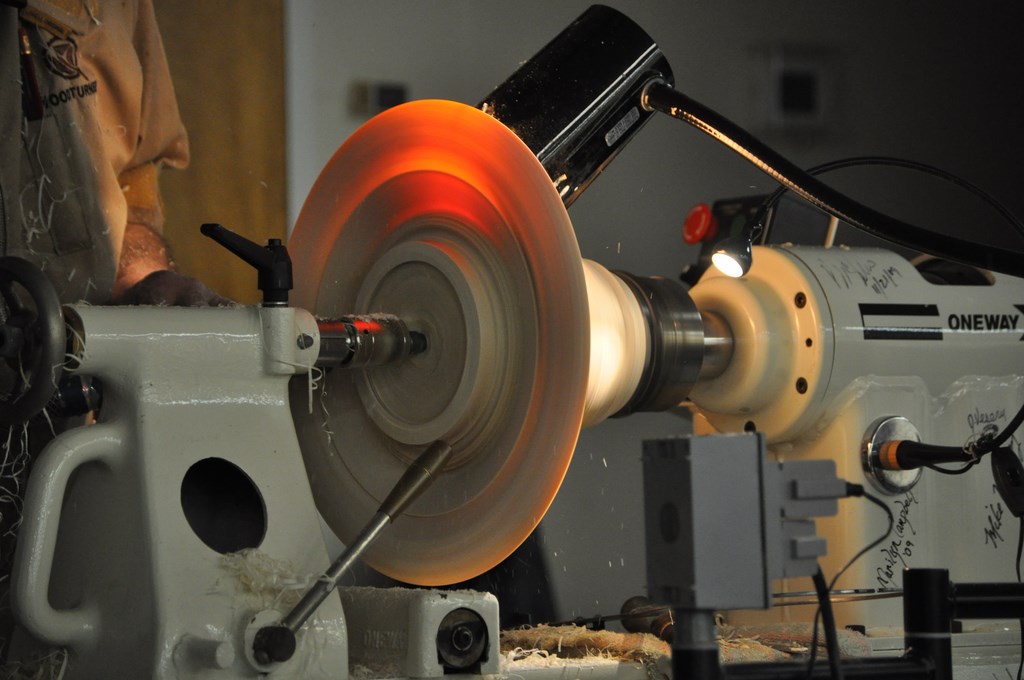
Brim progressing. Note how glow changes with thickness about mid brim
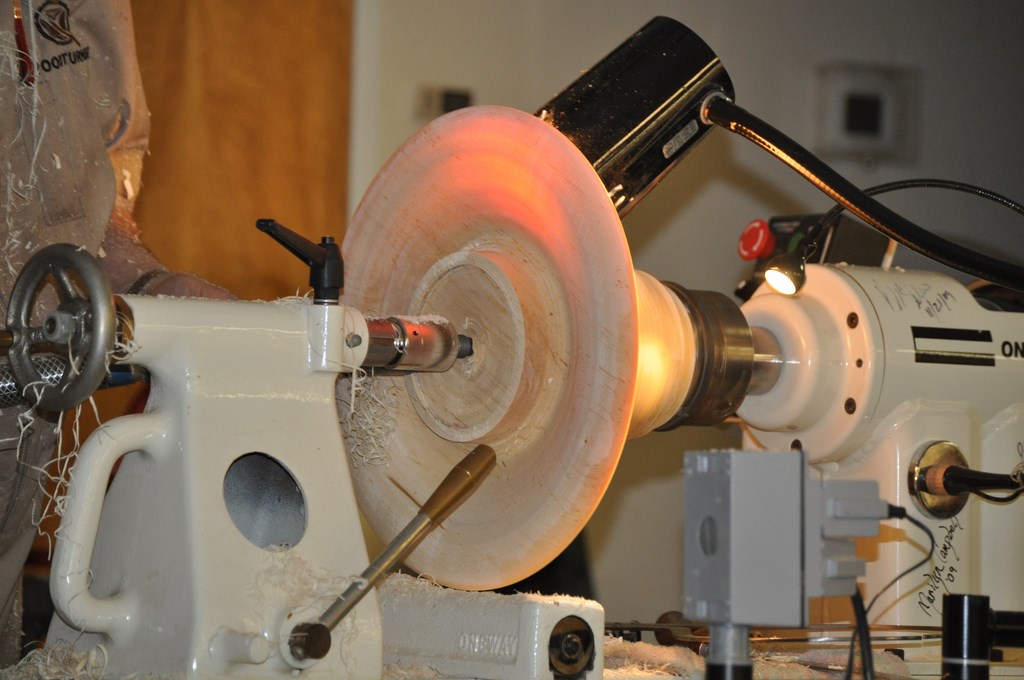
Brim complete
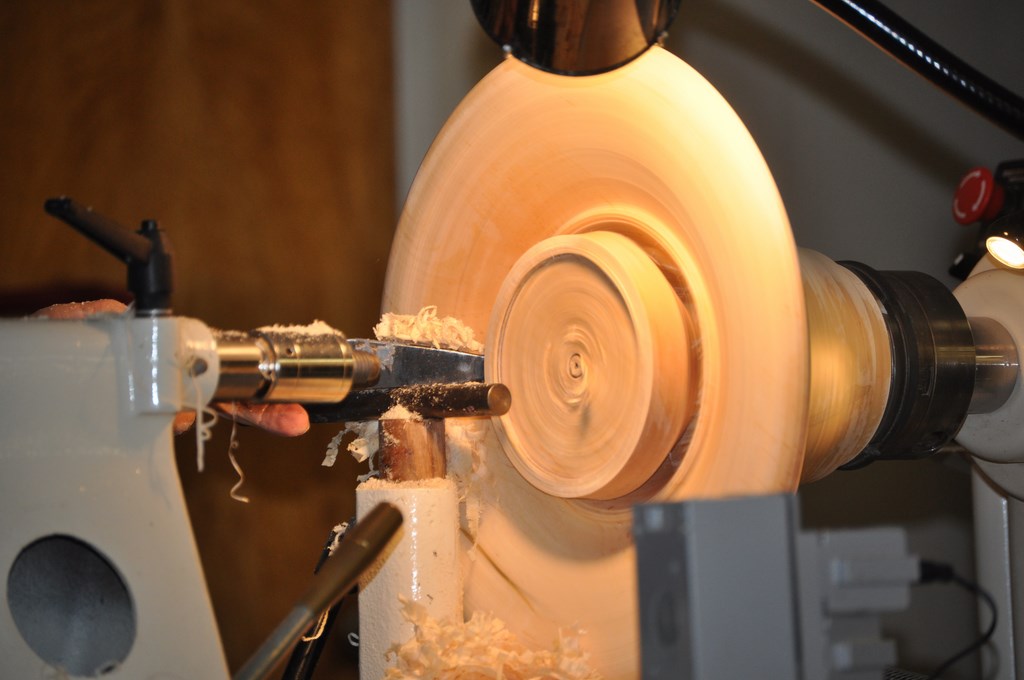
Removing excess wood in crown. This piece will be used for a mini-hat.
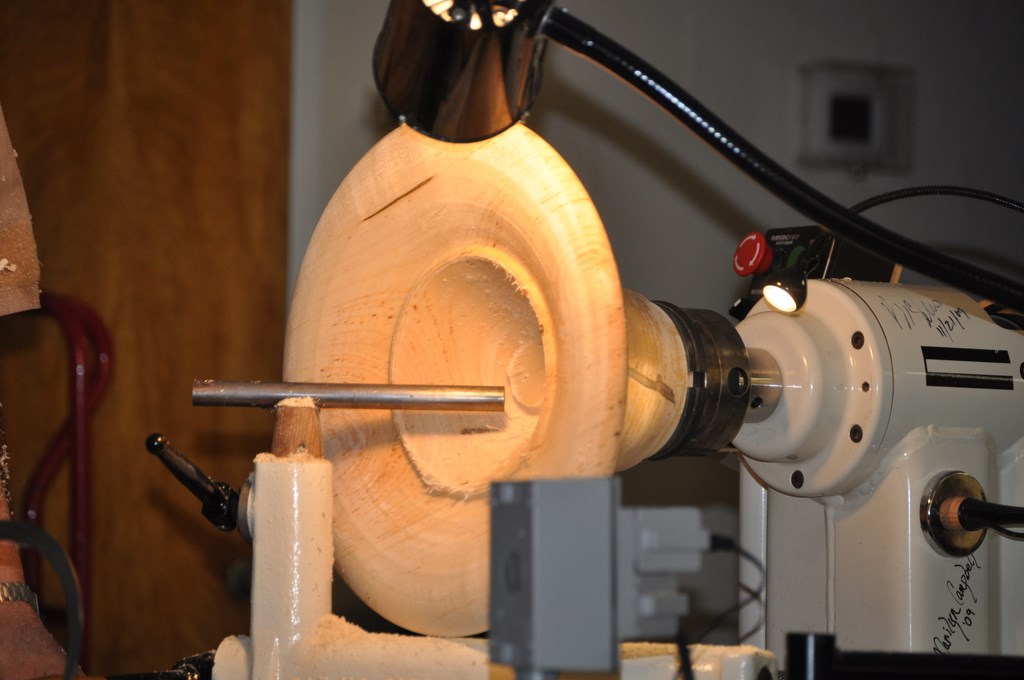
Mini-hat blank removed
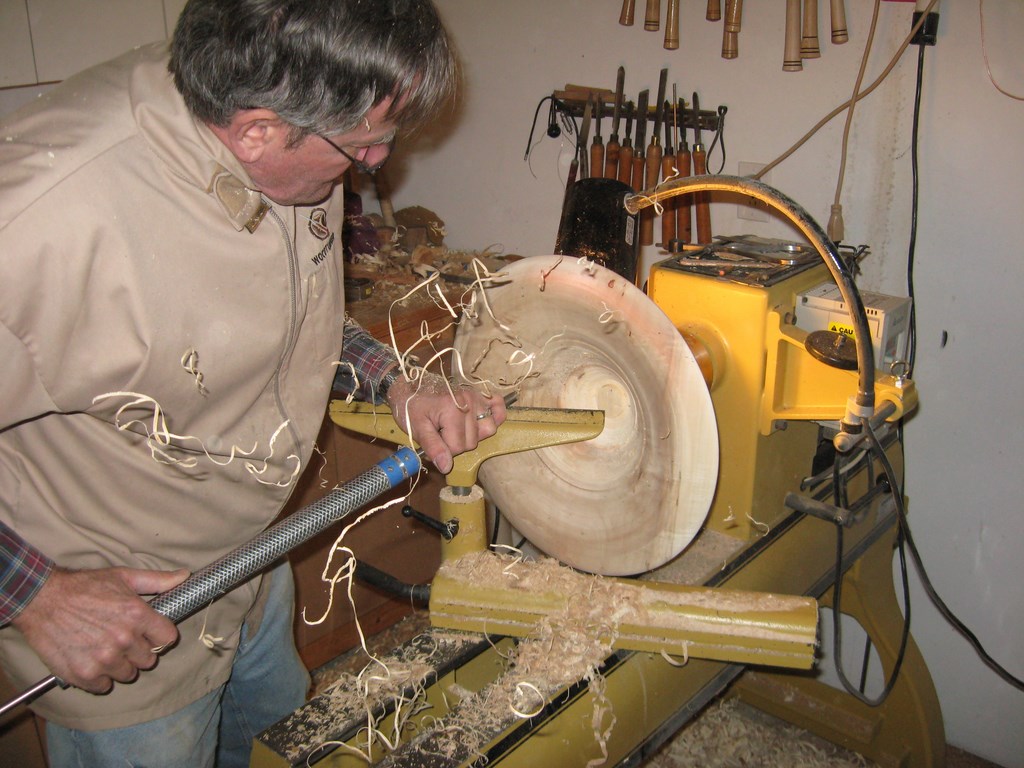
Begin hollowing crown of hat
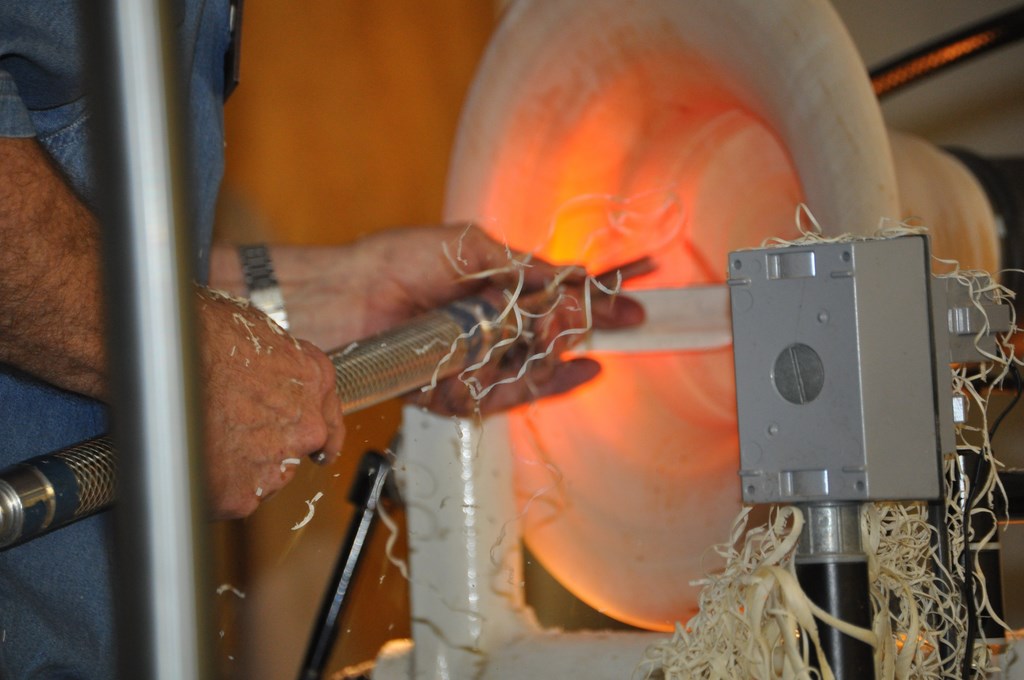
Crown thicknessing progressing using light glow to judge thickness
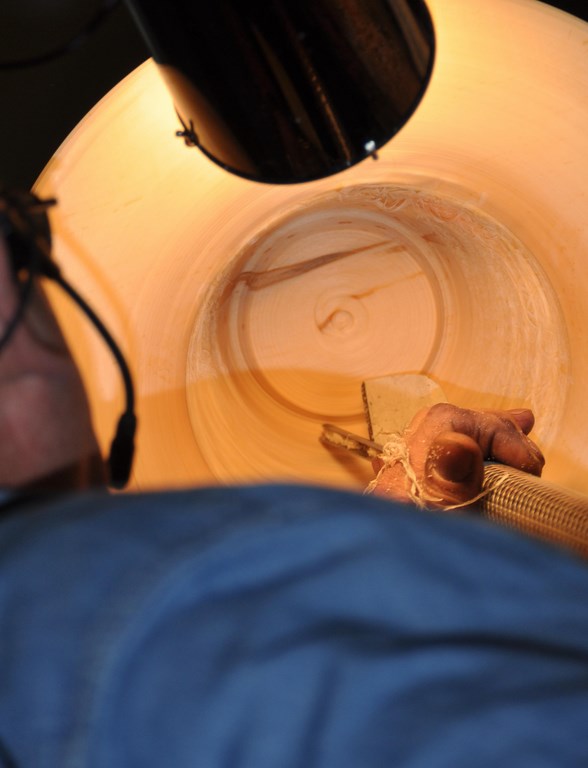
Creating grove inside top of crown. This is tricky and an easy place to have a disaster
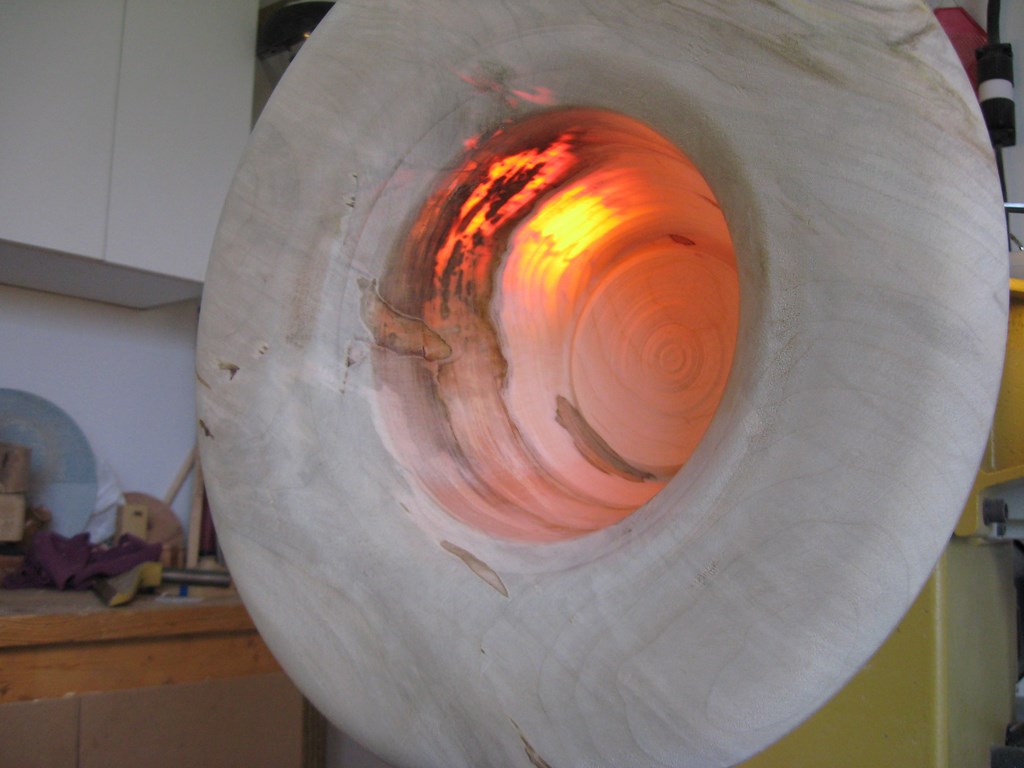
Crown thicknessing complete
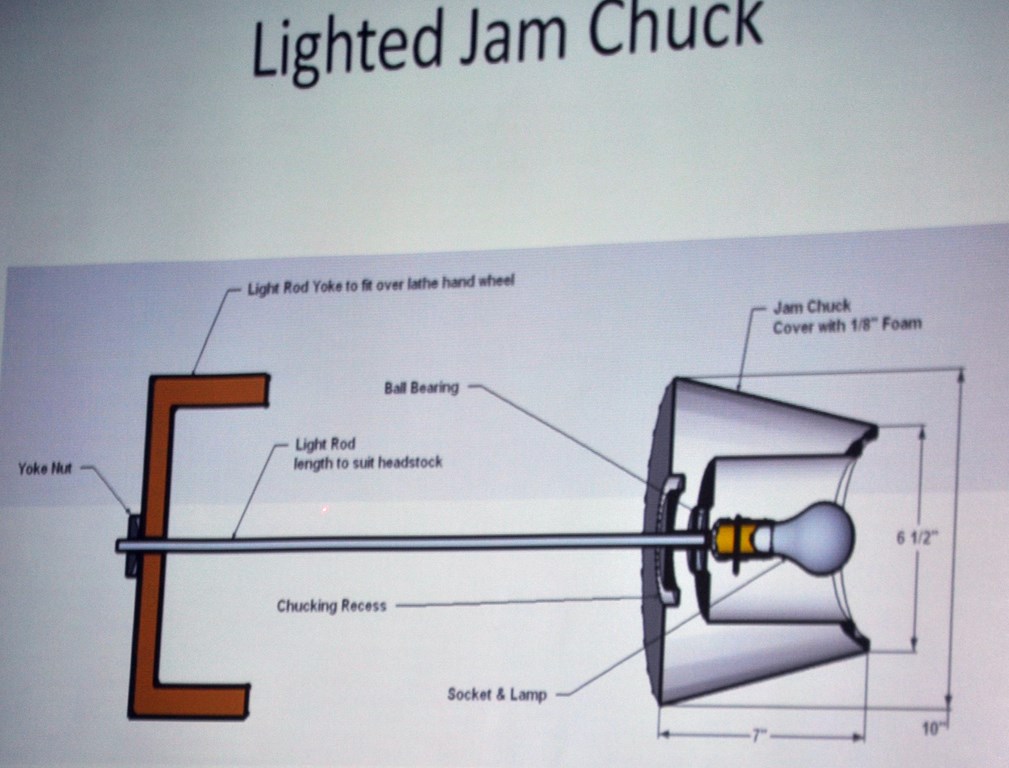
Design of lighted jam chuck
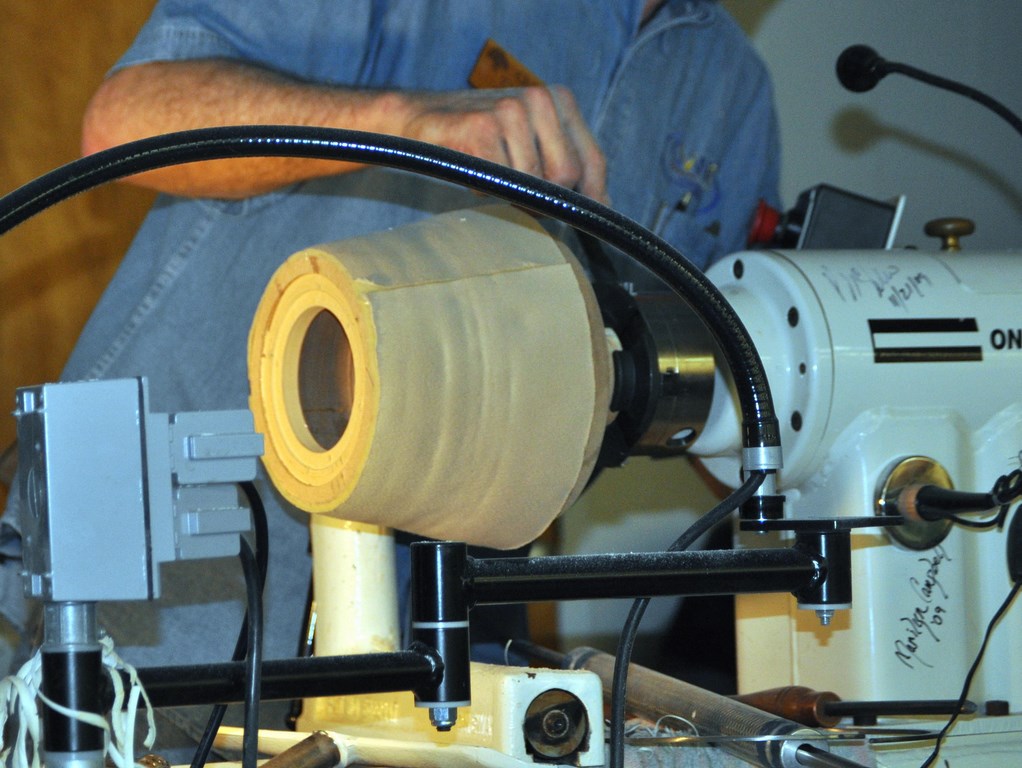
Lighted jam chuck on lathe
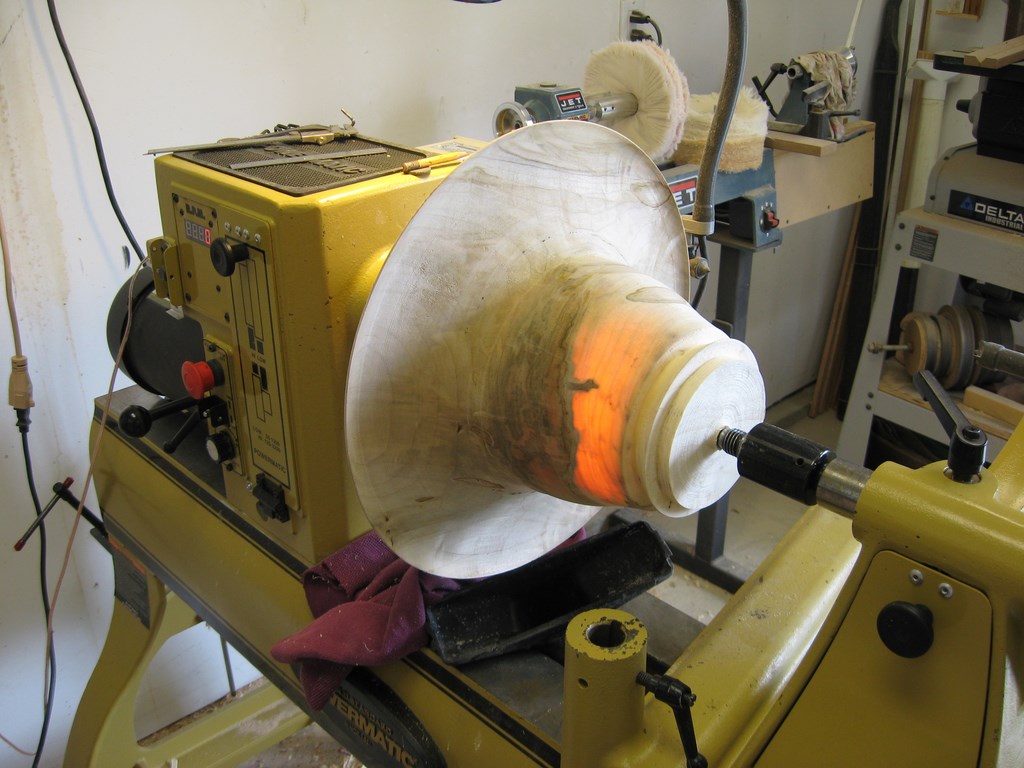
Hat installed on jam chuck with tailstock for safety. Note light glow
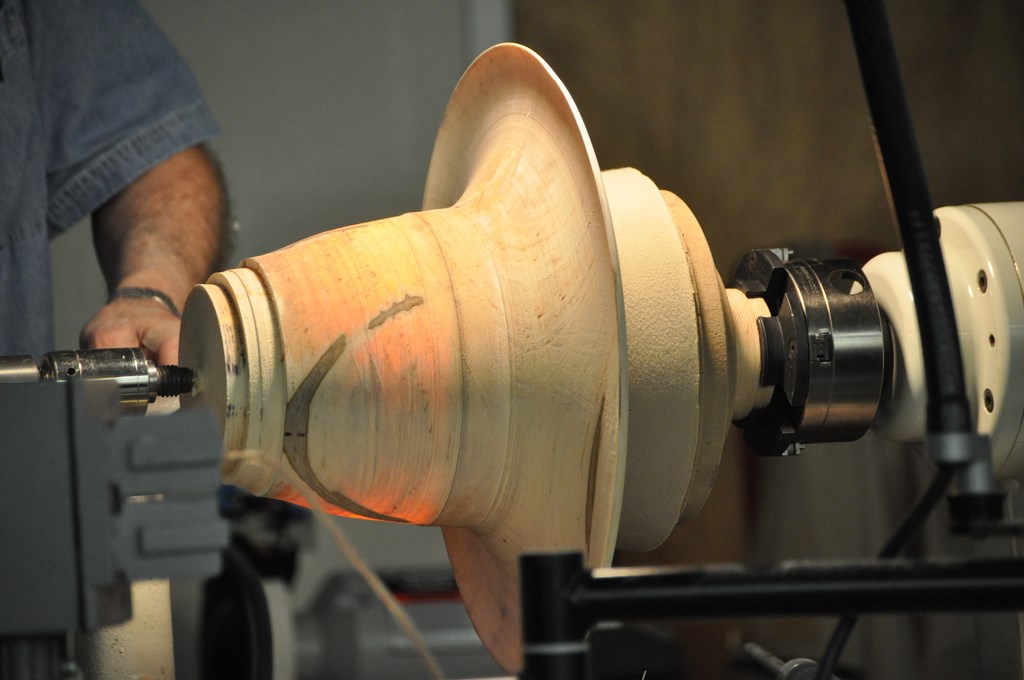
Beginning the removal of tenon on top of crown
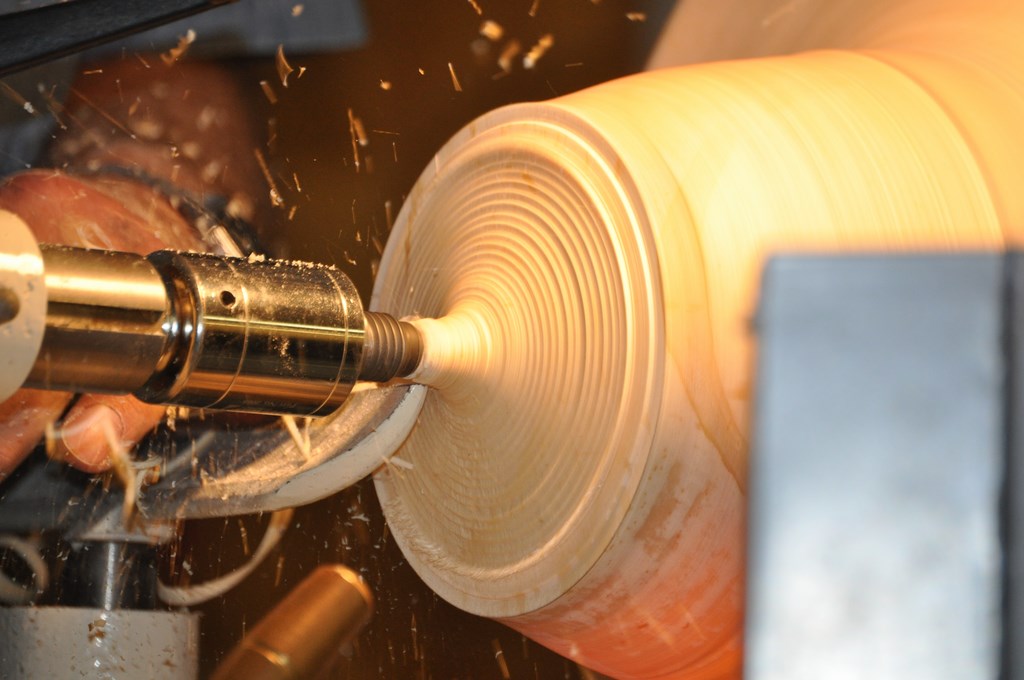
Tennon removal progressing
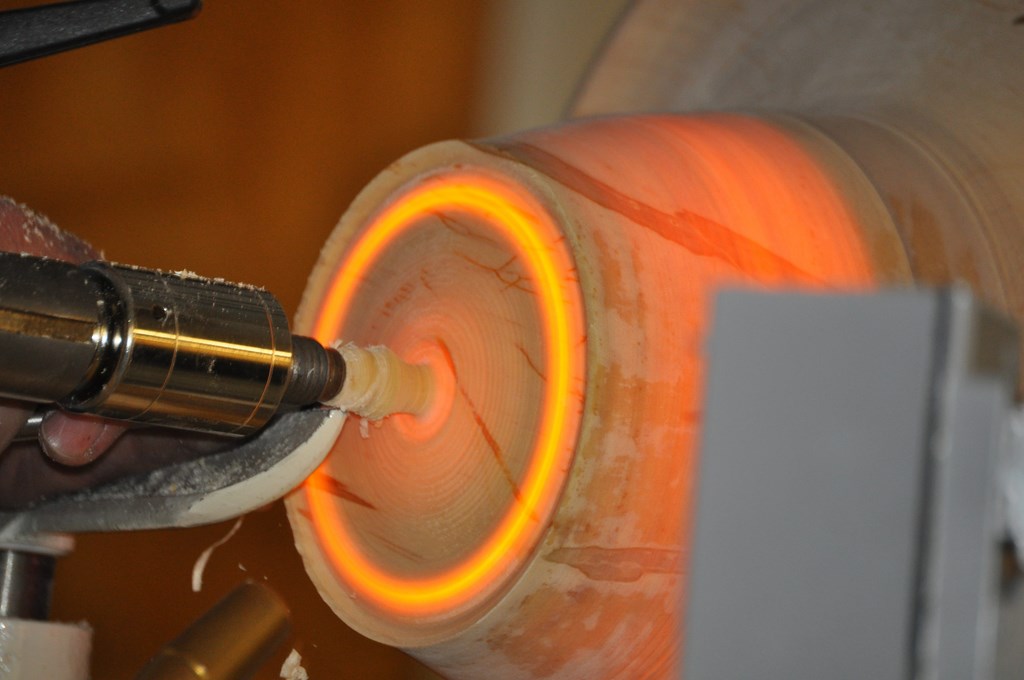
Almost done with top of crown
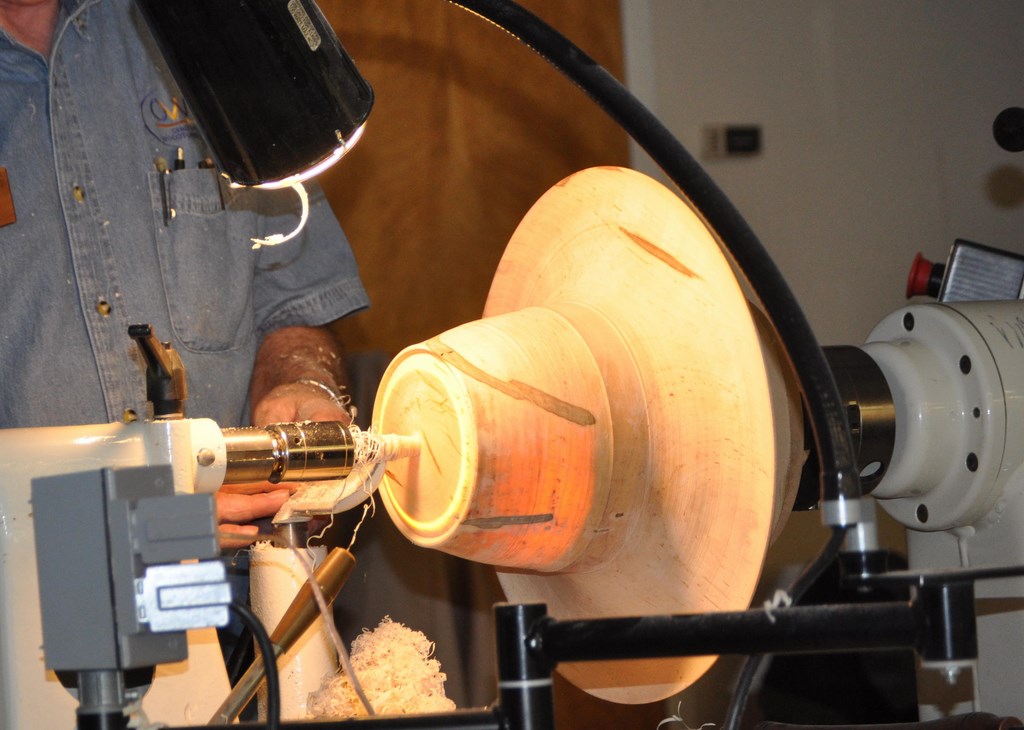
Time to remove tailstock and finish top of crown
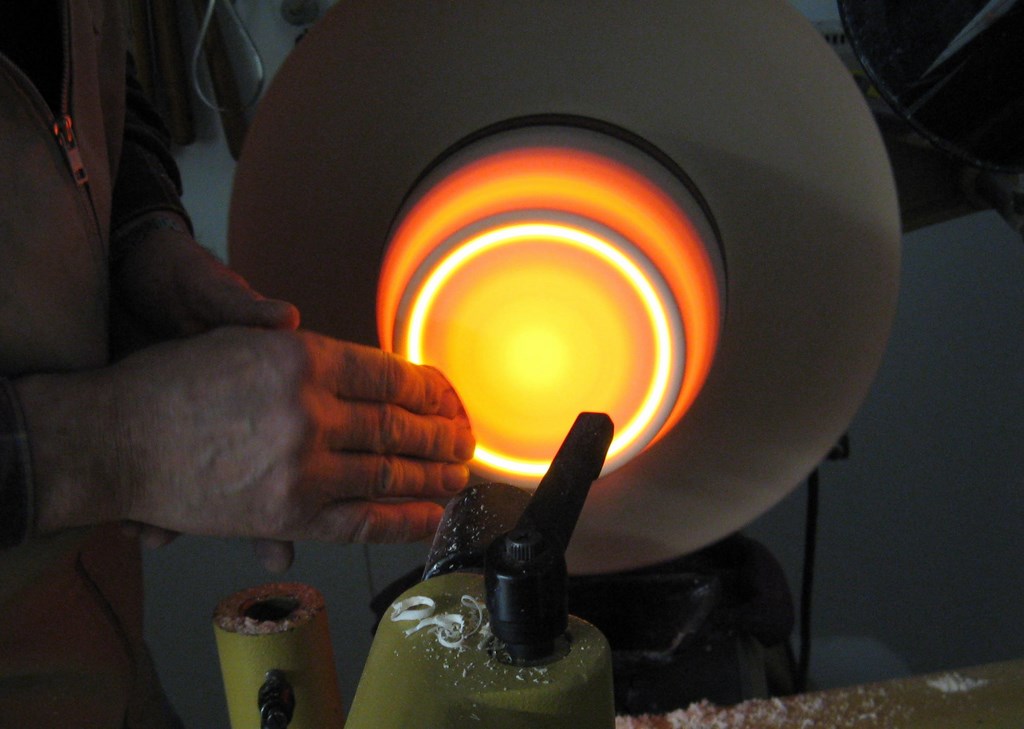
Sanding top of crown
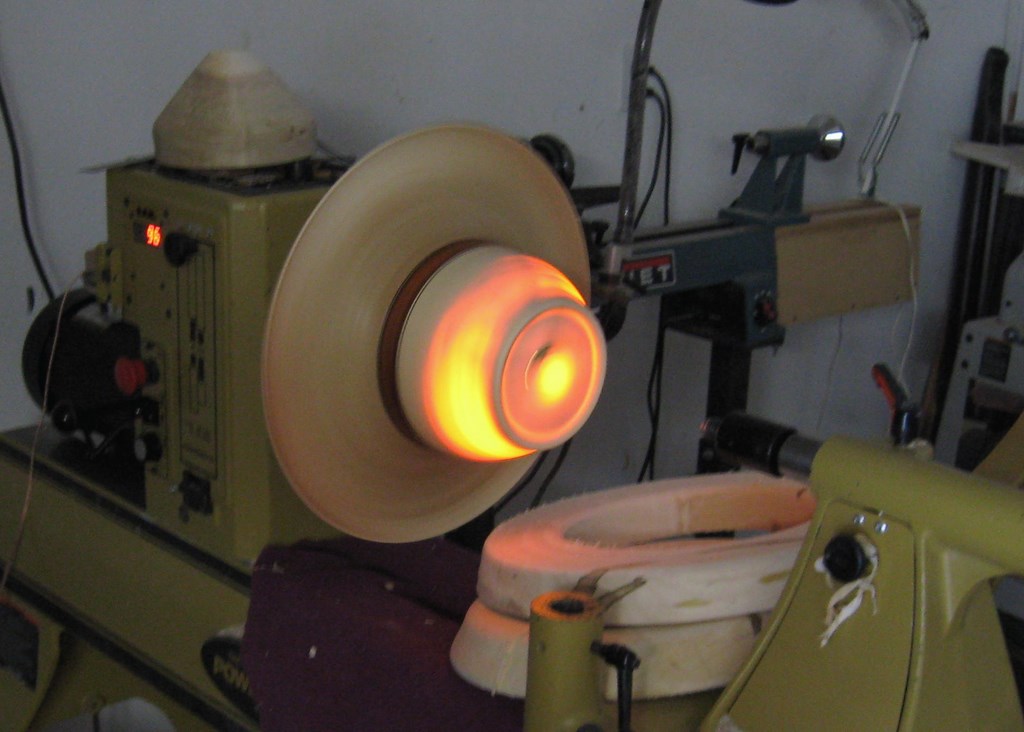
Turning completed
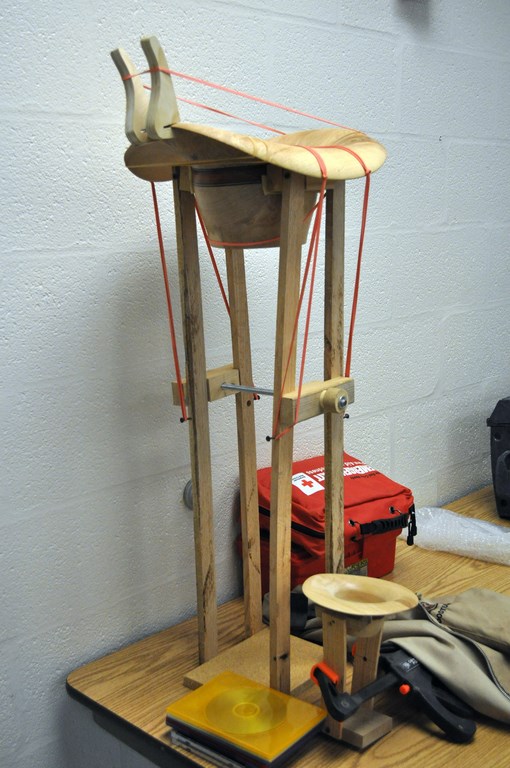
Hat in bending jig. Rubber bands shape brim and clamp creates ovel at hat band
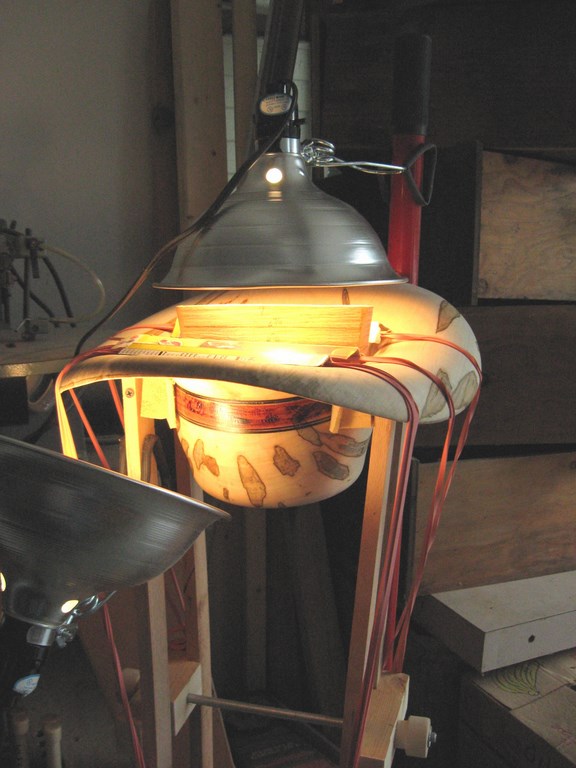
Another hat in bending jig
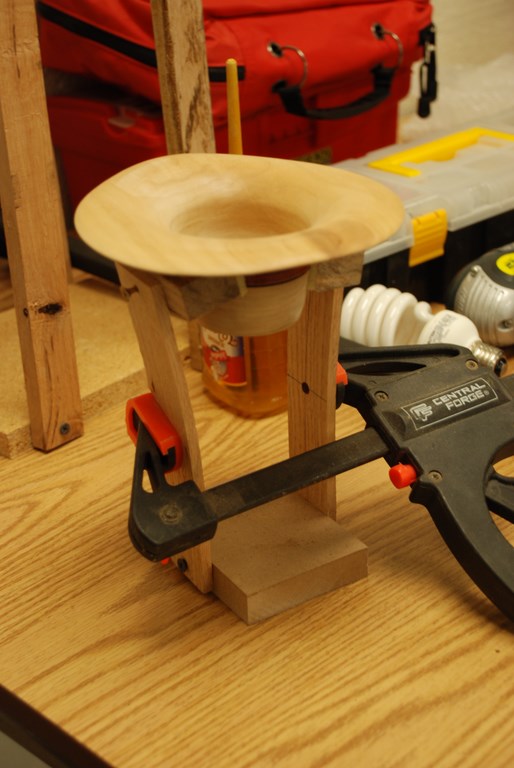
Mini-hat in bending jig

Logo to put on hat
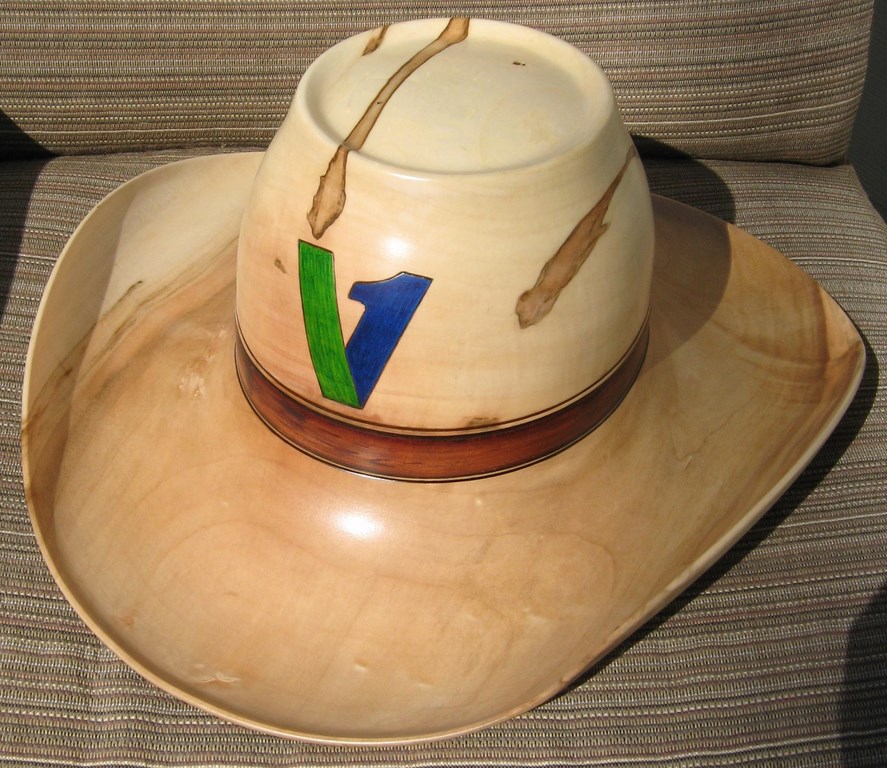
Hat with logo. Wood burned outline permanent marker colors
Another logo for hat
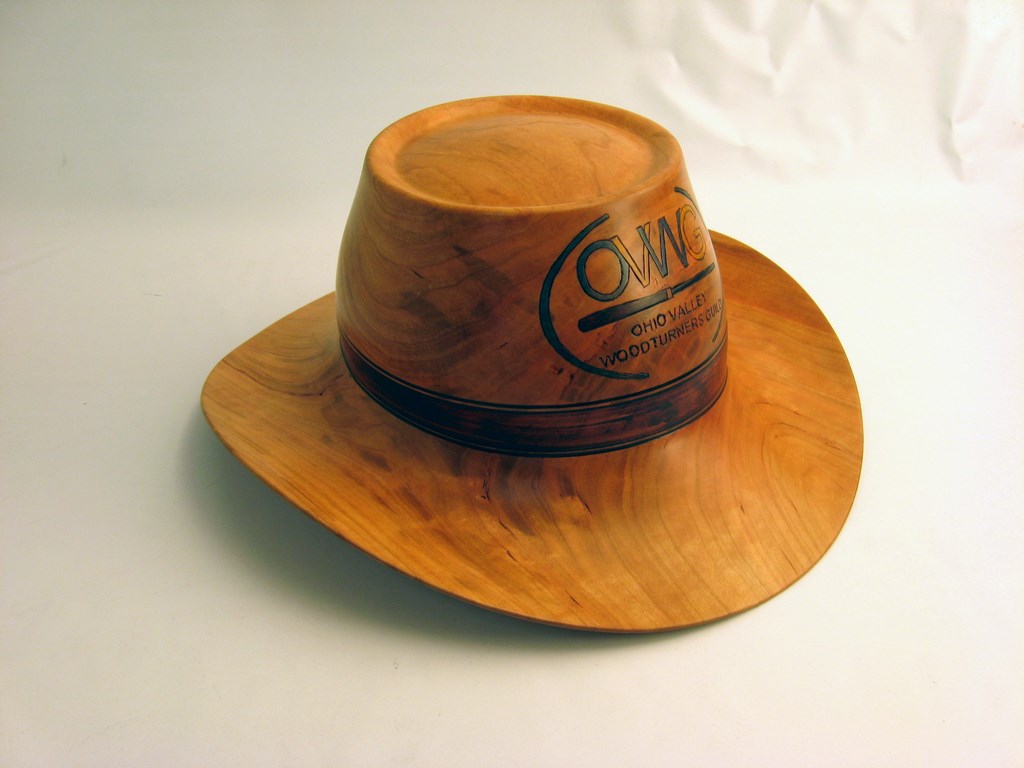
Cherry outback hat with logo
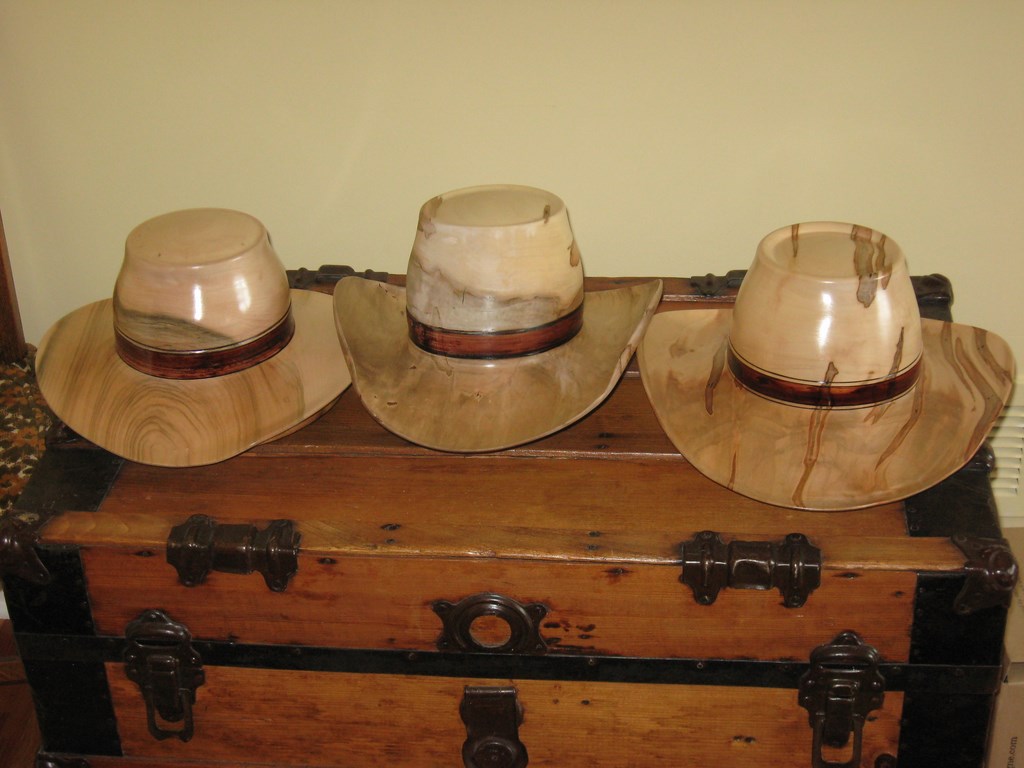
Some more hats
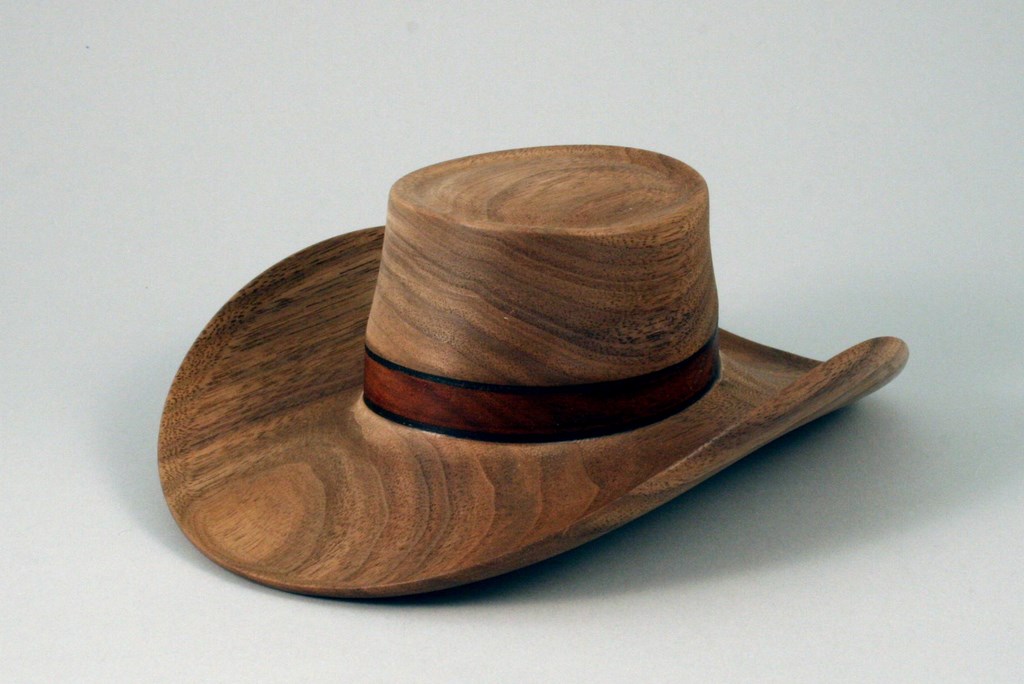
Walnut mini-hat
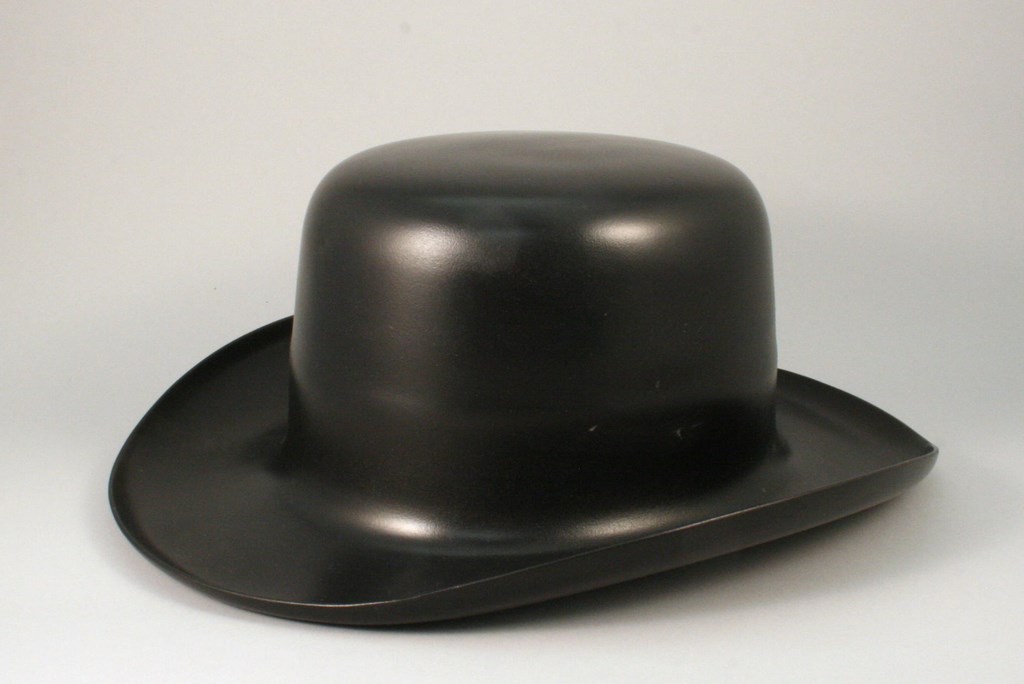
Plain wood made into derby hat.
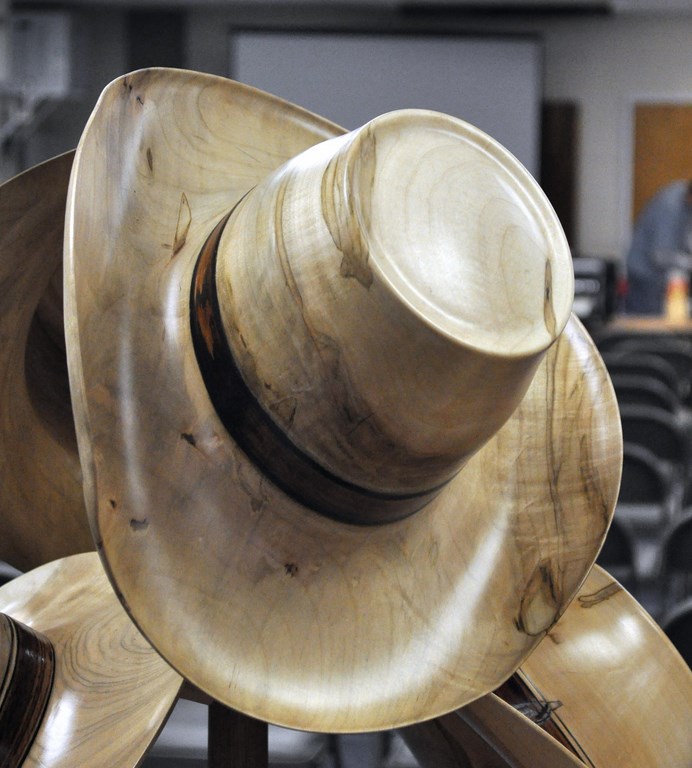
Cowboy style hat
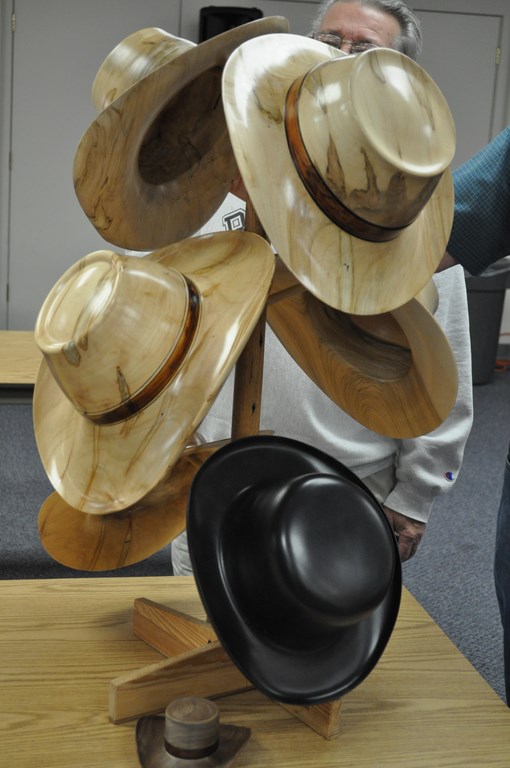
Some more hats. Thanks for watching


